Miniature Artillery
DBB100 Creative Programming
A Processing program that simulates the trajectory of a projectile and uses the simulated path to find an appropriate angle of elevation of an artillery cannon. I built a miniature of the artillery gun which fires 9mm steel balls and is operated via the program.
TR
MDC
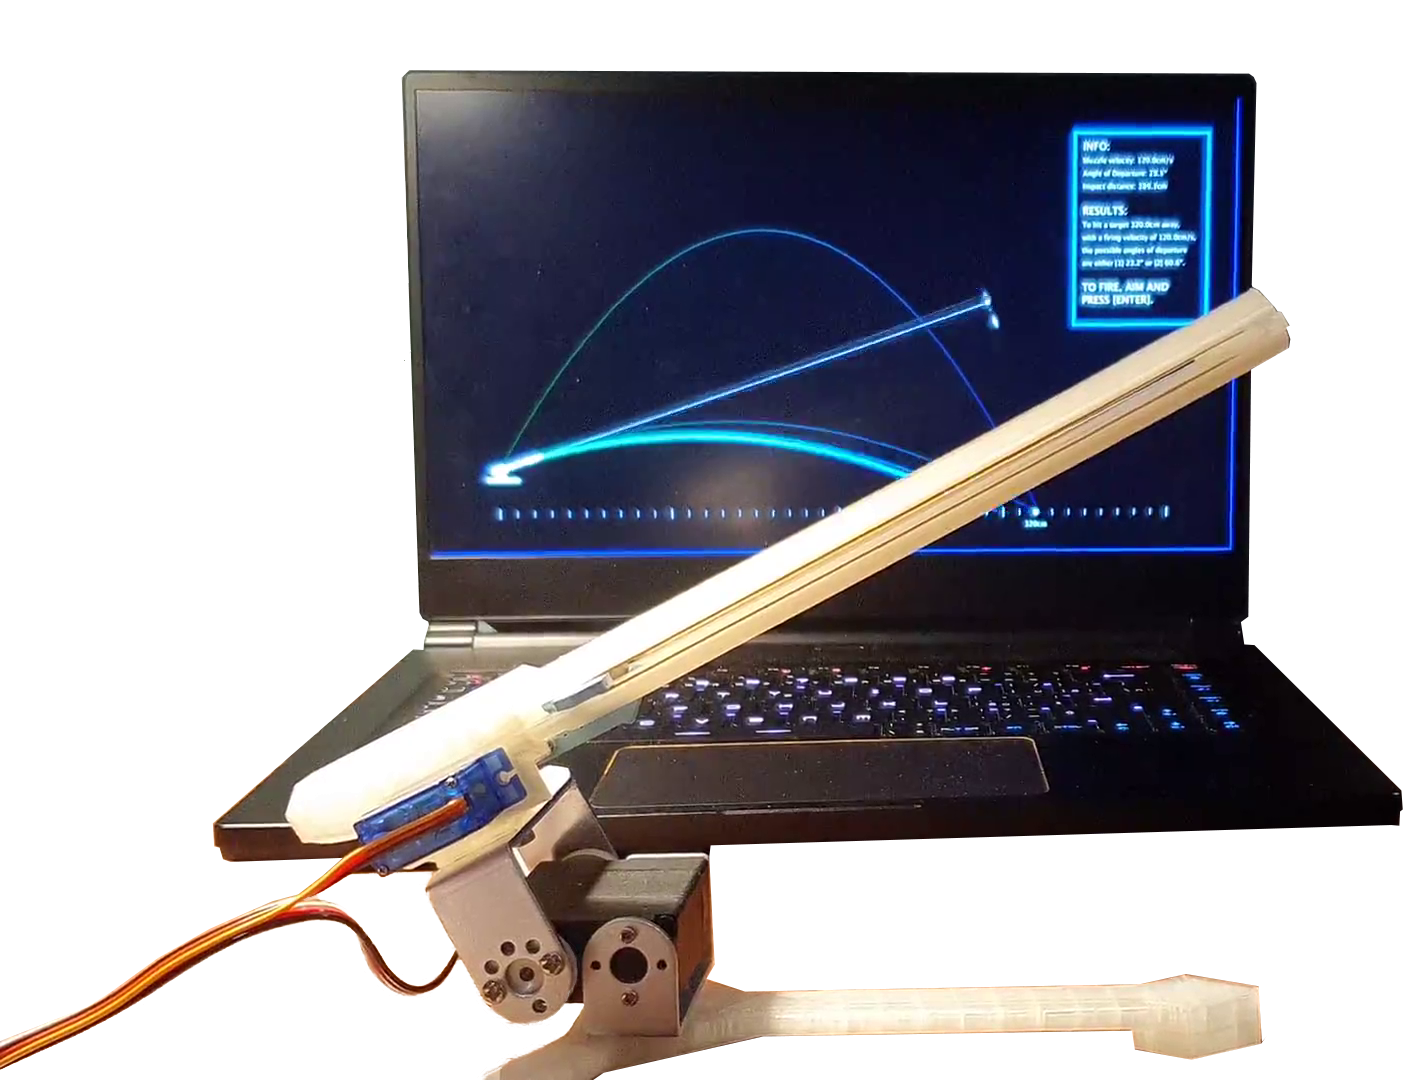
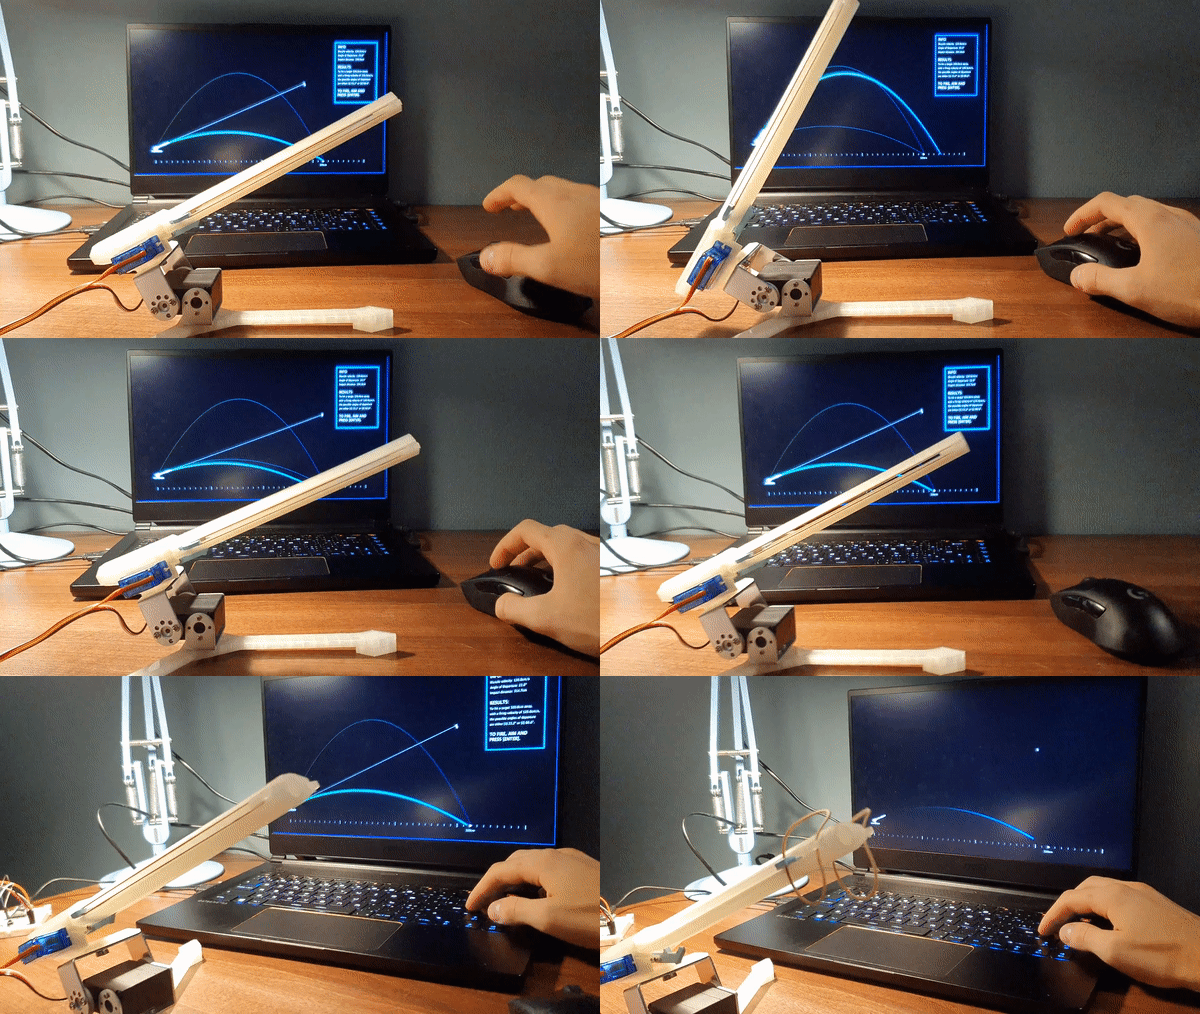
Demonstration of the program's functionality
The first highlighted project is the outcome of Challenge 2 in Creative Programming. This course served as a proper introduction to programming, as I only had little prior experience. My project involved the use of both Processing IDE as well as Arduino microcontroller, where the Processing would send instructions to the Arduino to control two servos. I learned how to create practical visualizations and became competent enough to be able to write code without the help of a tutorial or other guidance.
This experience proved to be surprisingly valuable during Project 1, as by the end of the project, I ended up programming a visual representation of the guidance screens featured in our parking garage. The knowledge I gained during Challenge 2 directly transferred to the ability to create this important part of our P1 prototype.
Arcee, the roaming robot
DBB200 Creative Electronics
Arcee is a robotic vehicle designed to avoid obstacles. Its purpose is to drive peacefully on its own without hitting anything. When approaching an obstacle, Arcee detects it and manoeuvres to avoid it. During this process, it produces sounds according to its movement.
TR
MDC
CA
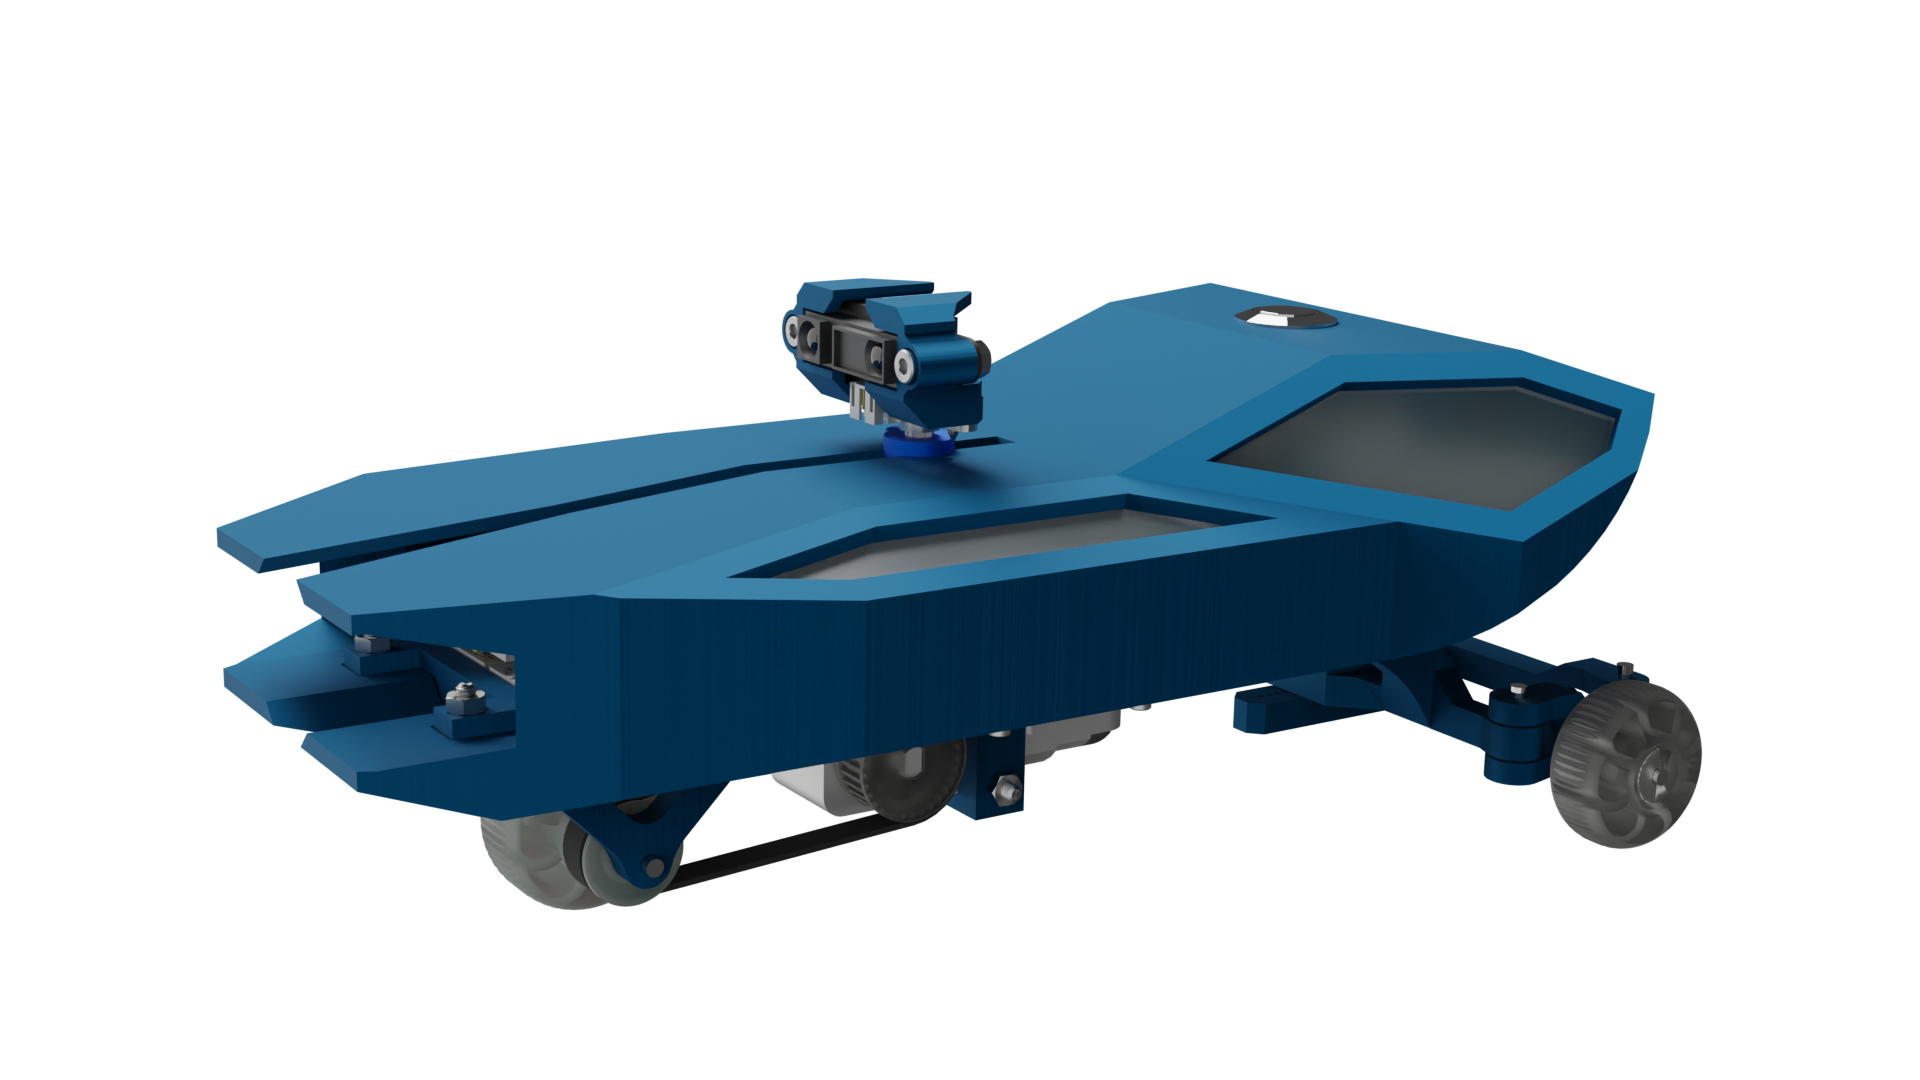
Arcee is the result of a ‘mini-project’ for Creative electronics where we worked together as a team of two on creating this little robot. We felt motivated during this course and I saw an opportunity to practice my Creativity and Aesthetics by designing a unique-looking 3D-printed robot with a functional steering mechanism. Again, I was the only one with 3D modelling skills, but my teammate was happy to learn, so I sketched my idea and let her try to model the steering part of the robot. I, in turn, learned from her about graphic design, which became useful while making the poster for our Project 1 parking garage system. The P1 poster contains a number of stylistic features that I learned about during this course.
Aside from the mini-project, a significant part of the course was practical assignments and weekly reports. Our initial report grades were not satisfactory. However, with each week, our grade for the report would steadily improve and the final reports received a very satisfactory grade. This is because we read the feedback we received each week and actively tried to implement it in the following week’s assignment. I believe this shows that we learned from our mistakes and also that my reporting improved over the course. One of the biggest takeaways from the practical assignments is the importance of asking tutors for help. In the past, I would typically try to solve problems myself unless absolutely necessary. It was when we asked a tutor for help that I got the most valuable insights. They helped us with the troubleshooting of our circuits, through which I learned how to do so myself. Overall, this course taught me how to build practical circuits (TR) as well as the relevant mathematical theory (MDC).
Steel Ball Machine
DBB111 Creative Mechanical Design, Engineering & Manufacturing
Various interconnected mechanisms form a machine that moves 20mm steel balls in a continuous loop with the power of an electric motor. We learned about and implemented various examples of exact kinematic constraint into the design.
TR
CA
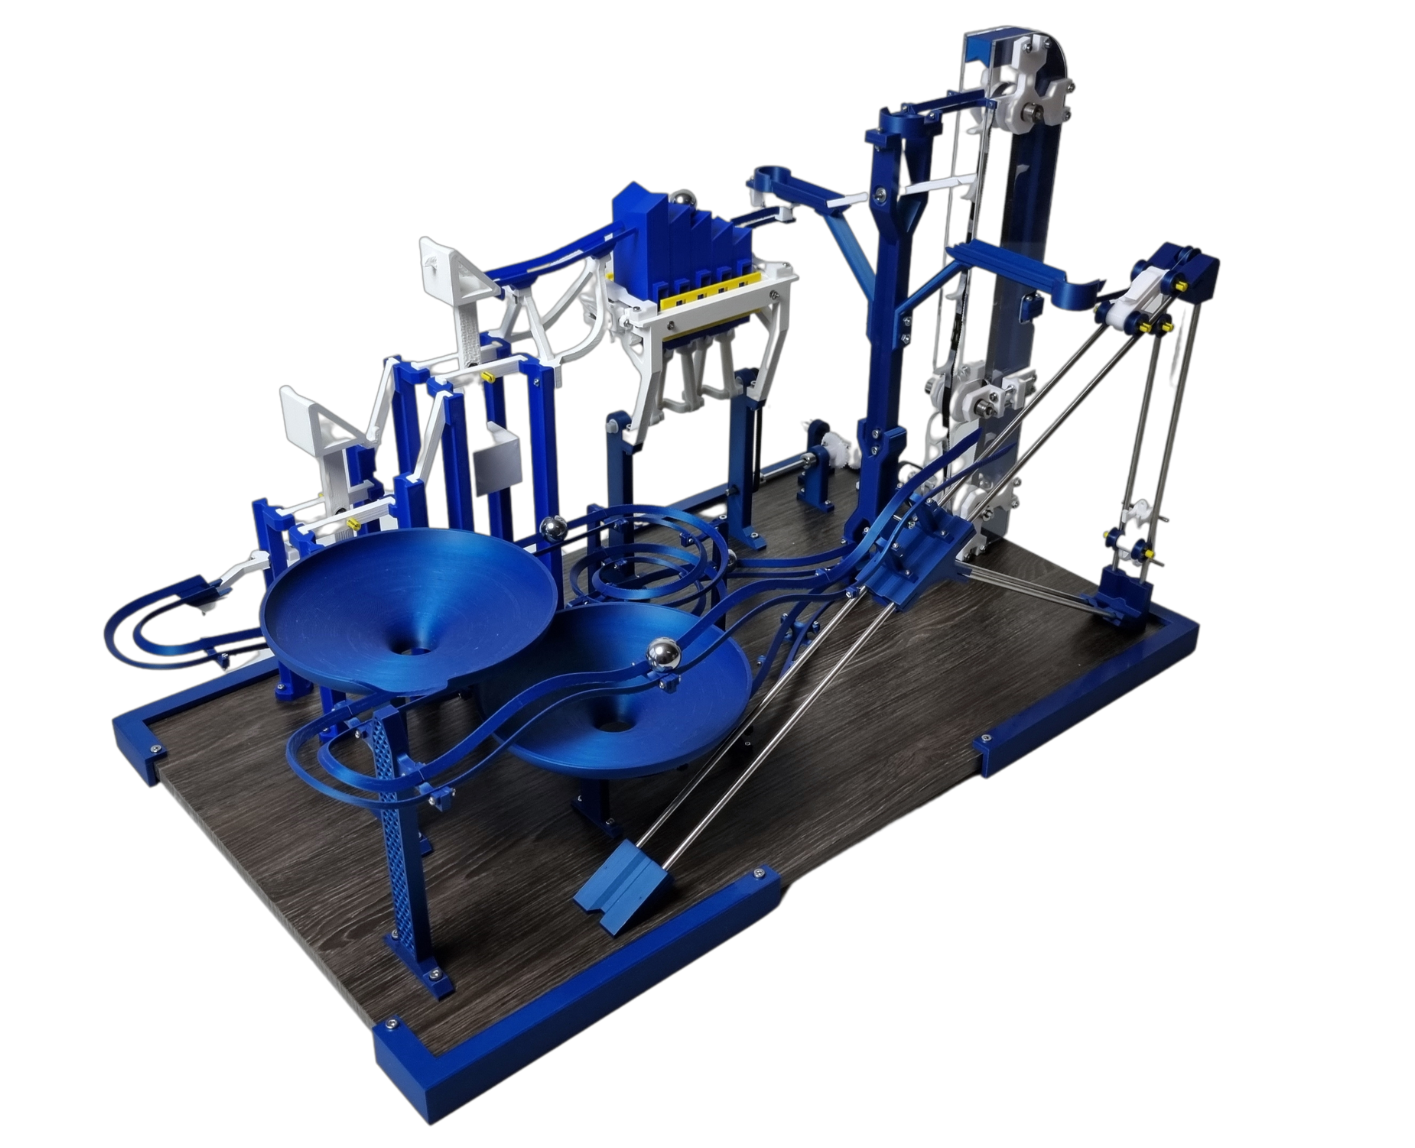
During the Creative Mechanical Design & Engineering, I worked on a group project where we were tasked with the design of a chain reaction machine. The course was heavily focused on prototyping and, by extension, 3D modelling. However, I was the only one in the group experienced with CAD software. While this put more pressure on me, we shared the design workload and all 5 members were responsible for designing a part of the machine. I spent a lot of time explaining how to use different CAD functions and drew sketches through which I illustrated my ideas. By the end of the course, my groupmates were all able to use CAD on their own and I learned a lot about teamwork.
Furthermore, I learned about proper practices while designing mechanical constructions, especially how to sturdiness and durability of a design. The understanding of exact kinematic constraints, the main topic of the course, helps me create more rigid structures and reduce the need to remake the prototype. With this knowledge, I can often predict how a design will behave structurally and design around any potential problems, without having to manufacture the part to find out about the problem. This saves me valuable time in the prototyping phase.
Lastly, we used several design methods that were new to me. I got to experience laser-cutting and vinyl wrapping, which allows me to turn cheap-looking MDF wood sheets into a high-quality-looking surface of my choice. Both of these methods were crucial for the success of our Project 1 prototype, so taking this course has already proven to be beneficial in more than one way.

Power transfer mechanism
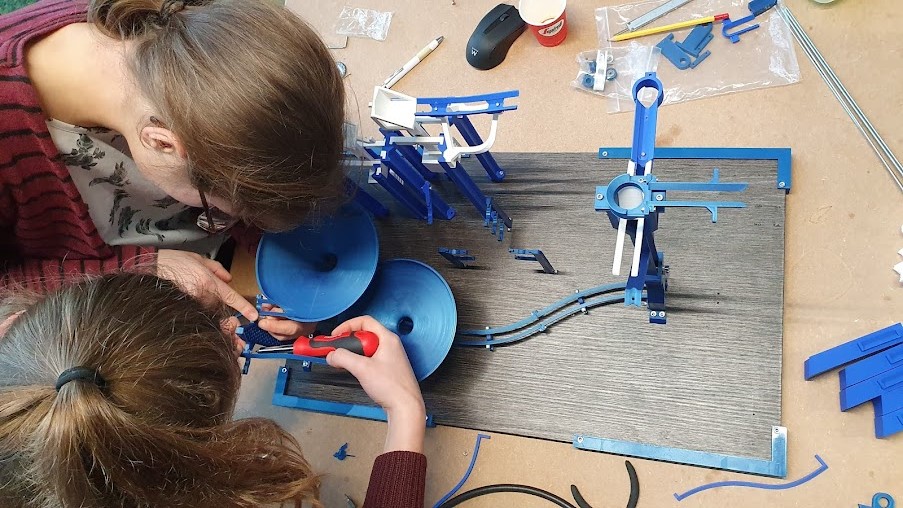
Contruction of the prototype

Demonstration of the prototype
Spotted
DPB100 Project 1
Spotted is a parking garage system designed to eliminate some of the most common frustrations drivers face while parking in a busy parking garage. To achieve this, our system assigns a specific spot to incoming drivers and includes a number of features to make the parking experience more efficient and convenient.
TR
US
CA
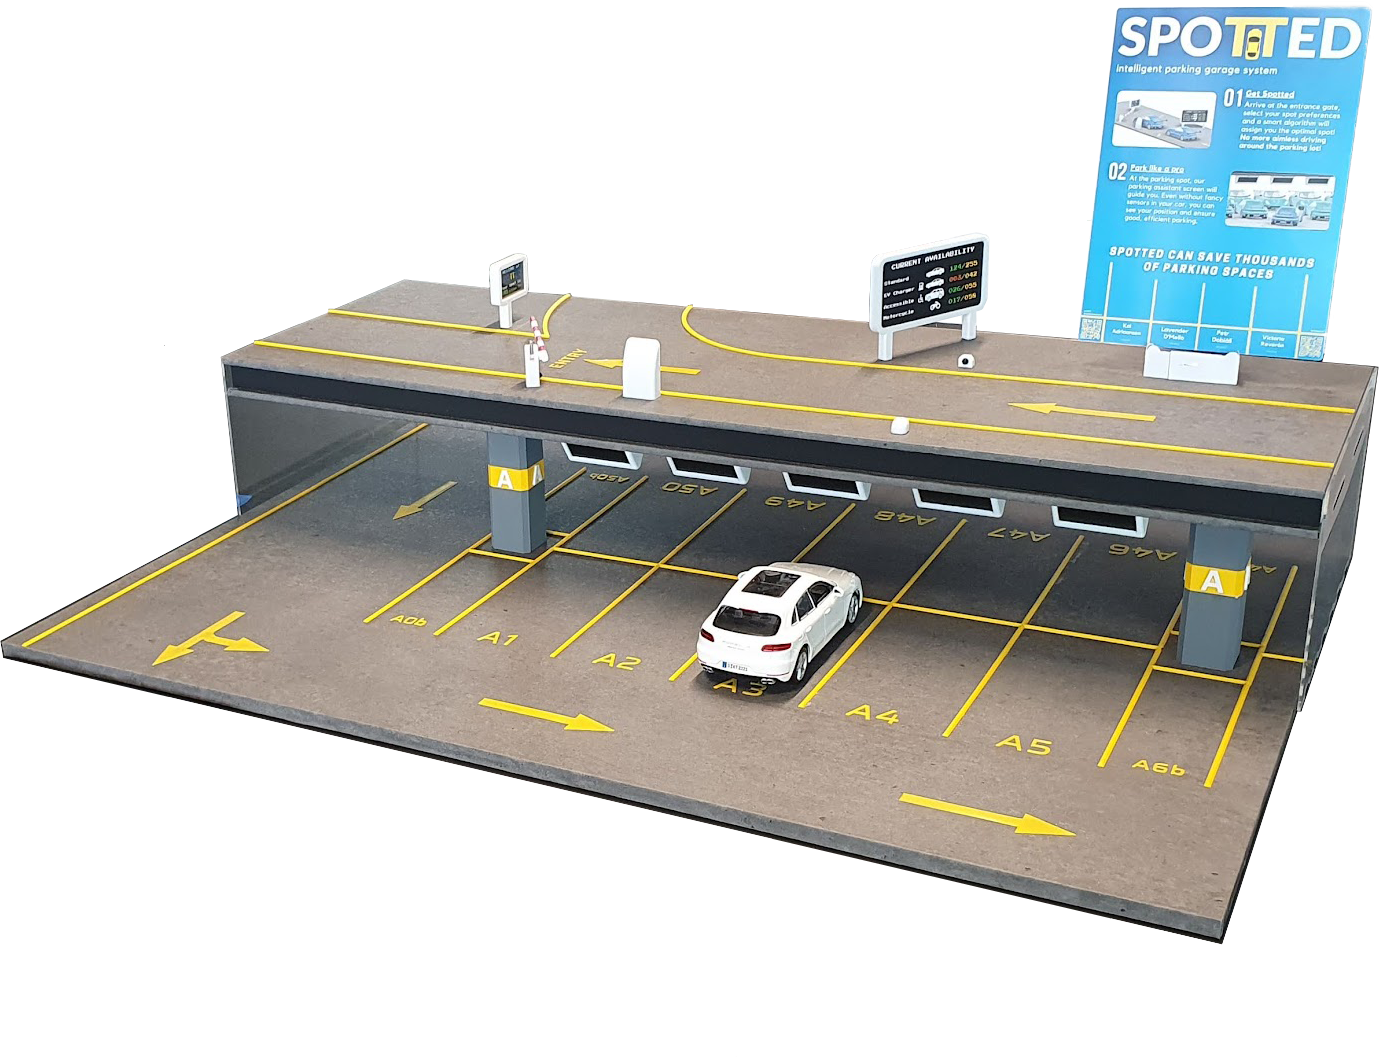
Project 1 presented me with a new kind of project, one in which I was not told what kind of product or a system I should design. In this way, P1 provided me with a lot of freedom but has also created a new challenge – the process of ideation. Brainstorming together with my teammates, discussing each other’s ideas, and trying to select the best ones and improve upon them was a valuable experience that I believe will be helpful in my future as a designer. Even though I will likely not have as much freedom in my professional career, there will be a lot of room for brainstorming and trying to come up with the best concept. I experienced this kind of thinking in the course ‘From Idea to Design’, but P1 has provided a much bigger and a more natural opportunity to practice the skill of ideation.
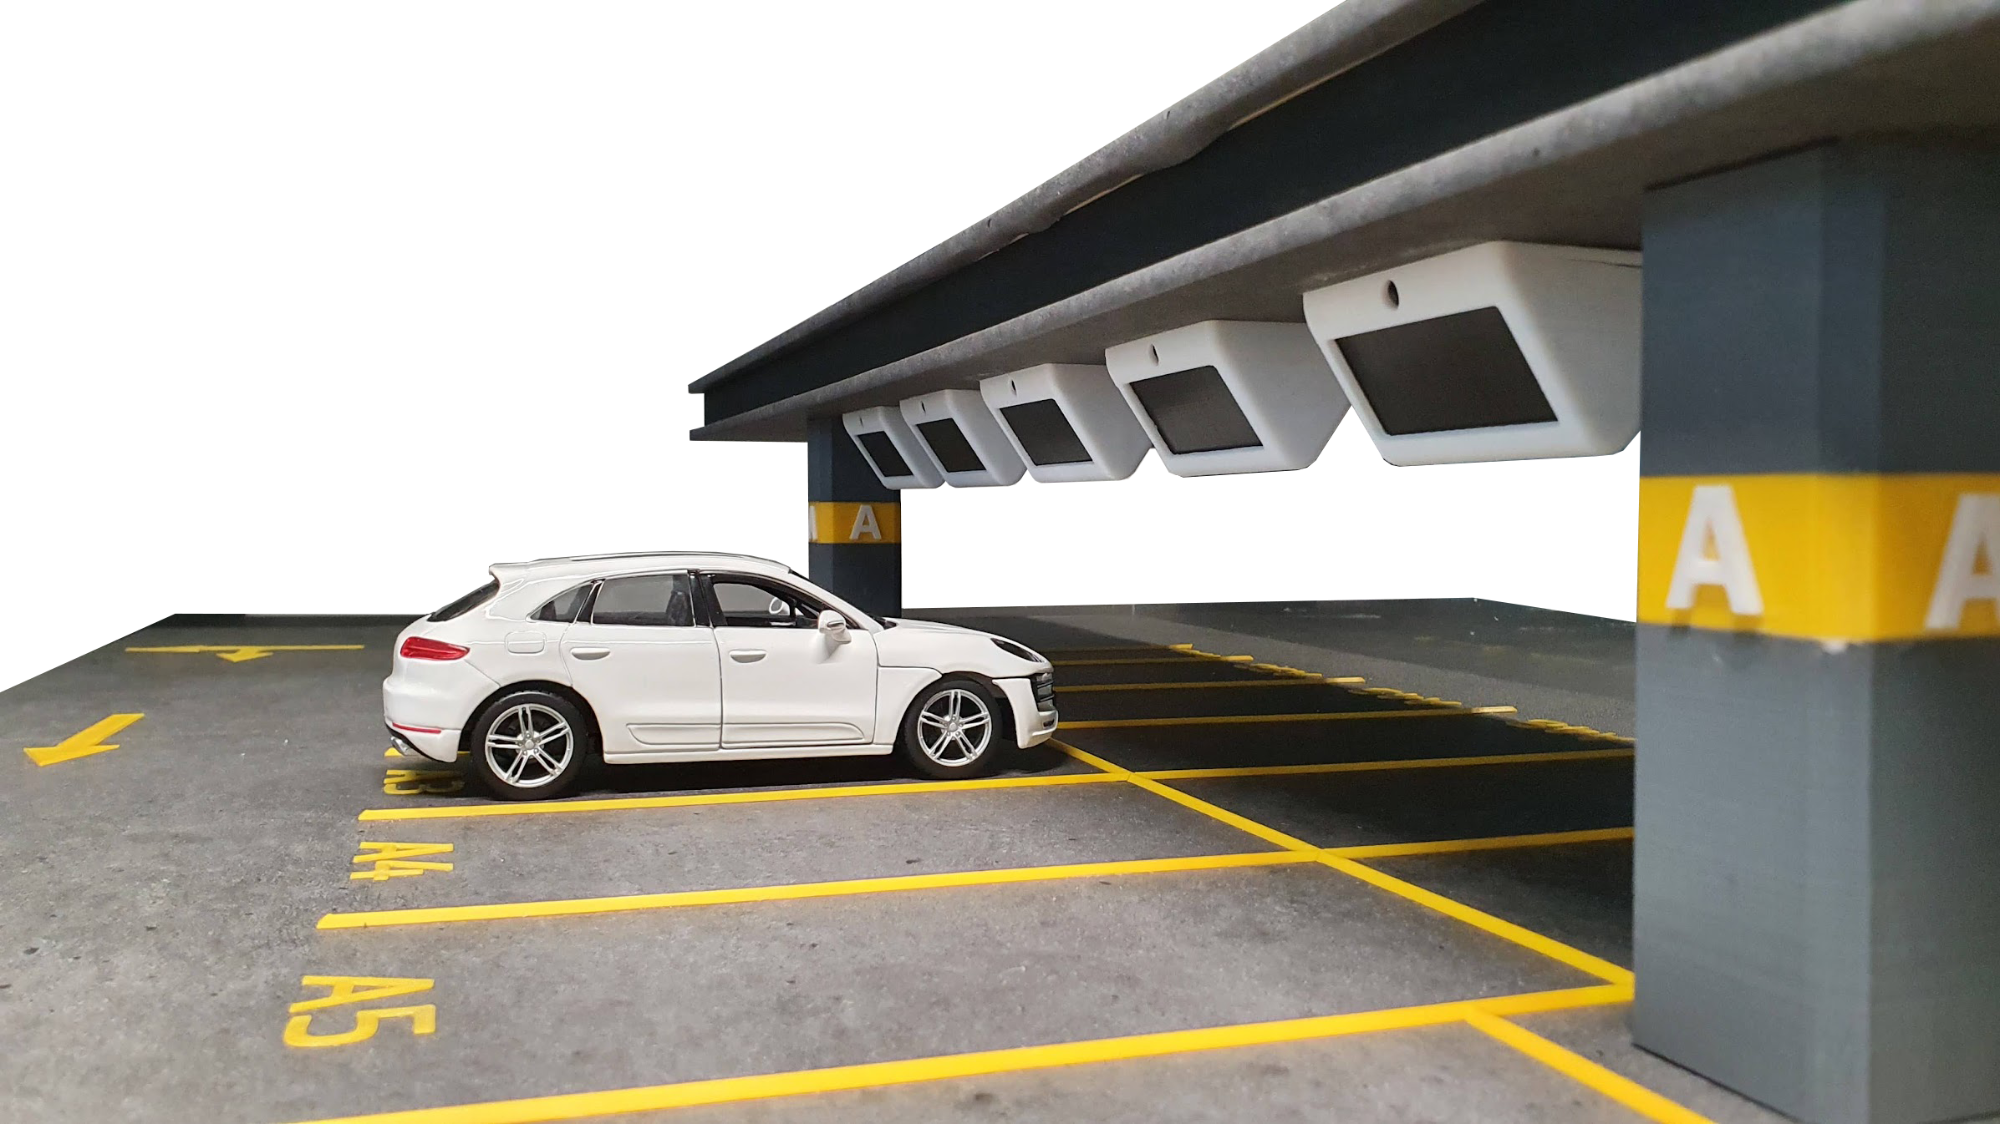
View of the parking spots and guidance screens
The area I spent the most time on was naturally Technology & Realization, as I was responsible for designing the prototype in CAD software, manufacturing the parts and directing its construction. As I already had a lot of experience with 3D printing, I cannot honestly say that I learned too much. What was new to me though, is working with a laser cutter. I learned how to connect laser-cut sheets together using dovetails and create a sturdy construction with this method. I learned how to prepare the files for laser cutting correctly. This is a new skill that I am glad I learned, as I plan to make many more prototypes in the future. Furthermore, I learned how to make a construction without the use of screws which I actively avoided during the design. Instead, I relied on glue alone to hold the parts together. Constructing the prototype was then surprisingly easy, as all the parts fit together and a little bit of universal glue was sufficient.
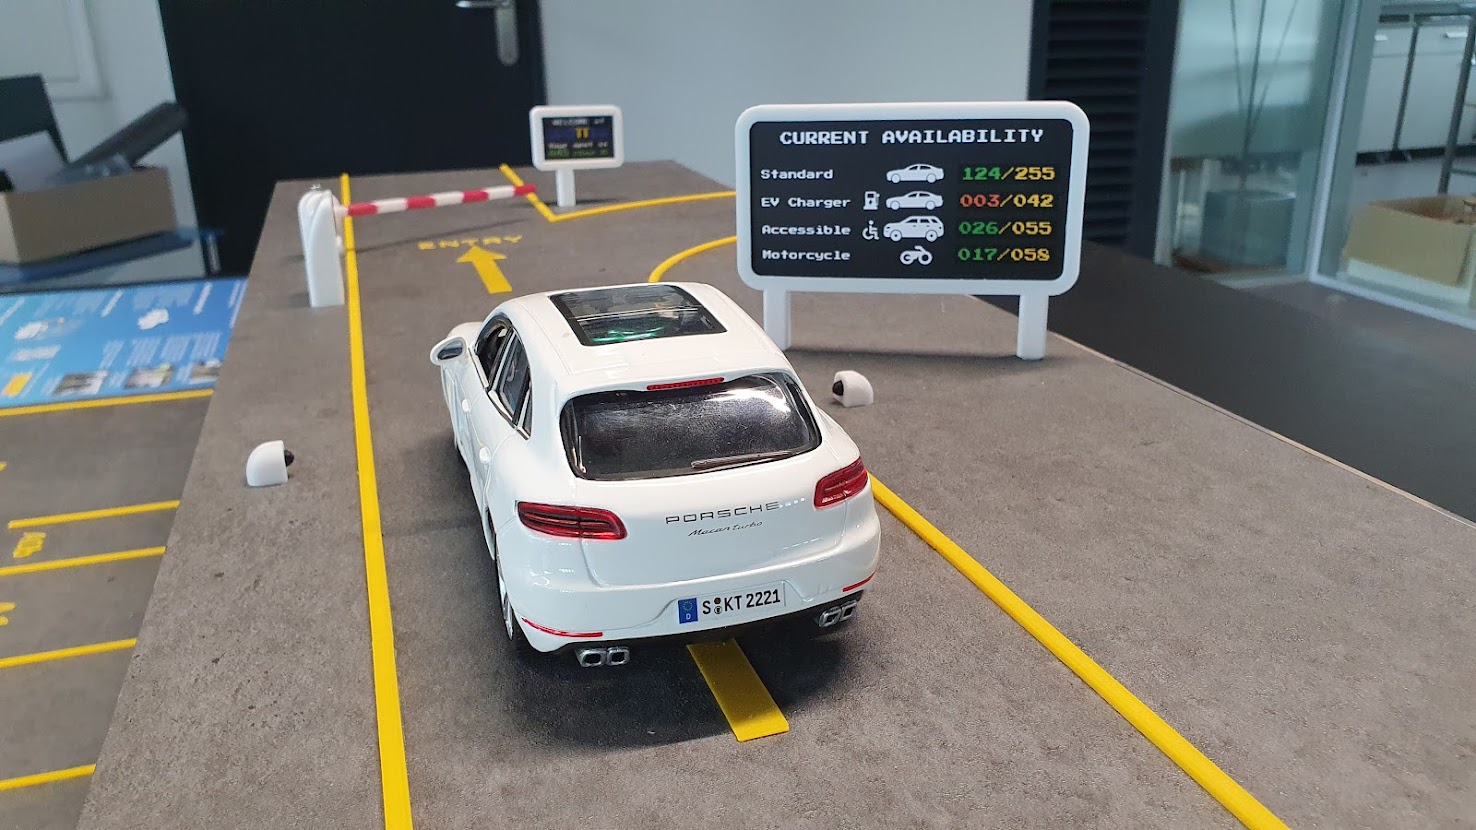
Entrance of the parking lot designed for convenience
Another area of expertise that played a key role in P1 was User and Society. As parking garages are a public space used by many, we wanted our system to be as convenient and understandable for our user as possible. To achieve that, I placed special focus on figuring out ways to optimize the layout of the parking lot. By doing so, I learned to better put myself in the perspective of the user and be empathetic to their wants and needs. As such, I believe I progressed significantly in the expertise area User and Society.
The next part of the prototype was the user interface at the entrance gate, for which my teammate developed a demonstrator. In terms of the User and Society expertise area, this enabled us to conduct user testing and gain insights into how users experience our design and what aspects can be improved. I also learned how to create a more effective questionnaire and how to ask the right questions in order to get more useful data. For example, I learned that it is important to ask unbiased questions, otherwise, our own views are reflected in the responses we get.

Demonstration of the guidance screen
Finally, we wanted to allow people to be able to experience the guidance screens during the demo day. To do that, I created a Processing visualization which works together with an Arduino to send data from 2 distance sensors and is able to show the position of the car relative to the parking lines of the spot. This was an excellent application of the skills I learned during Creative Programming. The ease with which I was able to code this demonstrator proves that the knowledge I gained in the first quartile stuck with me.
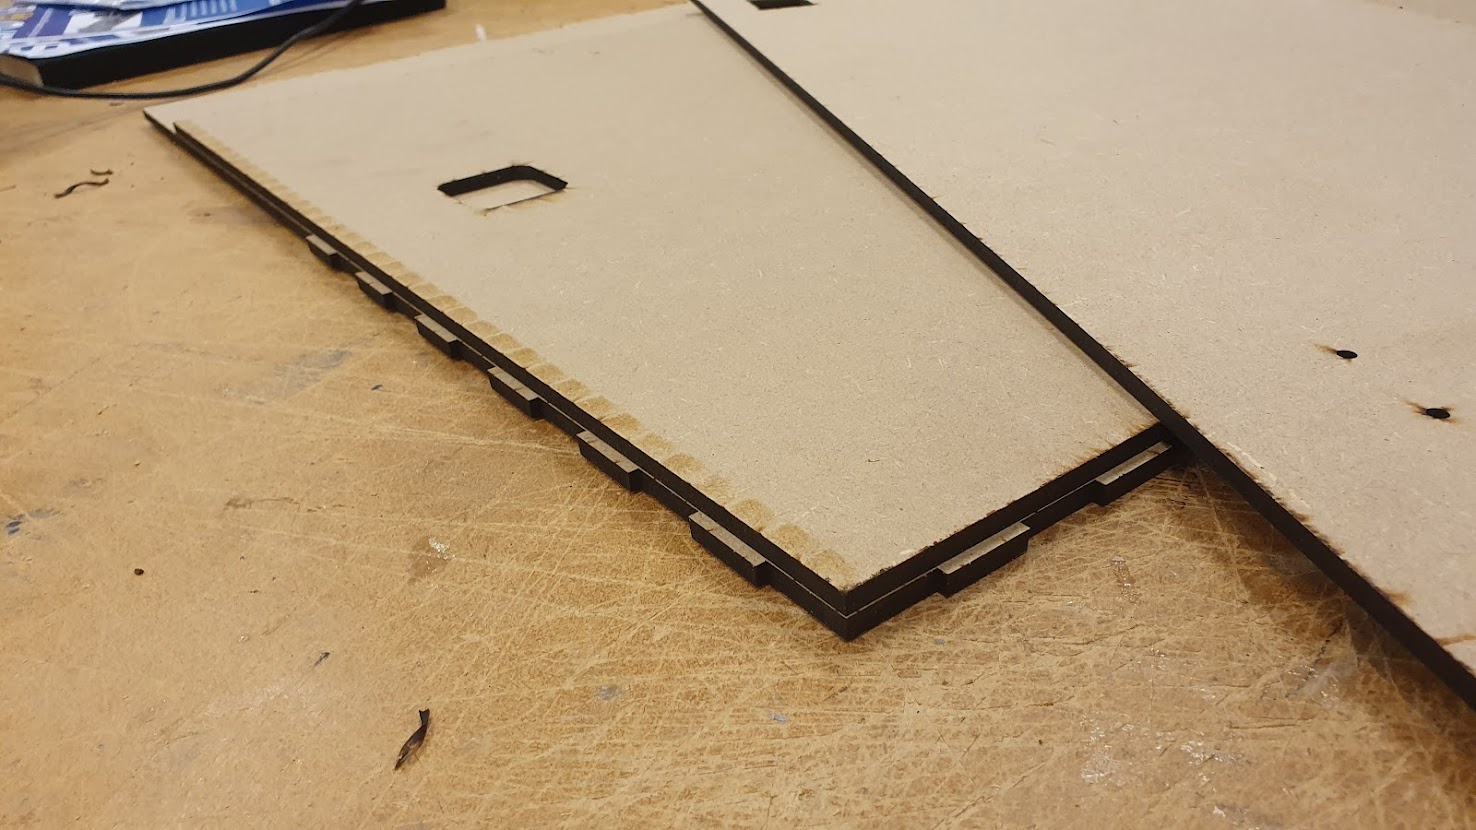
Construction: Glueing MDF Sheets
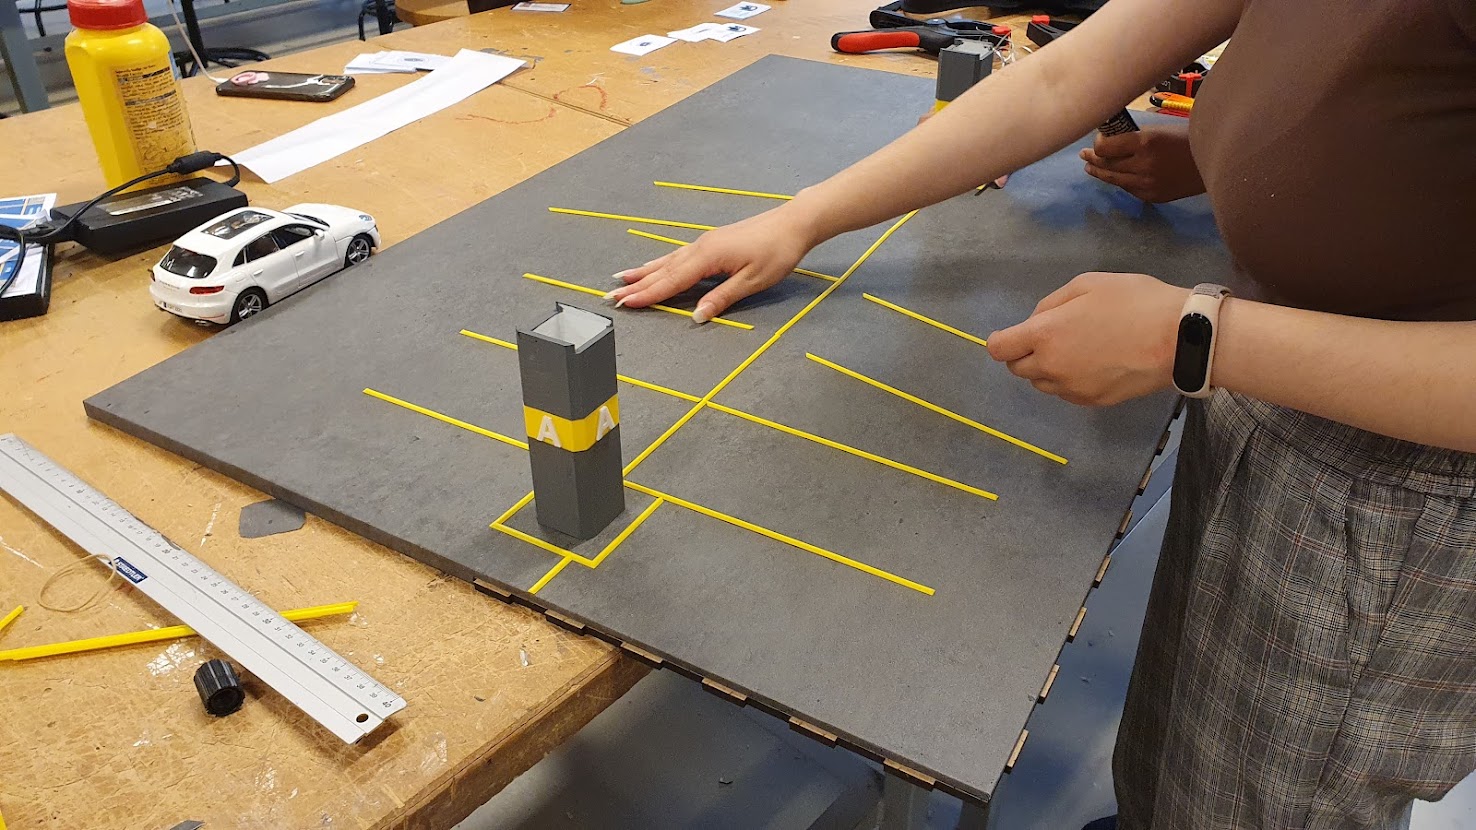
Glueing the 3D-printed elements
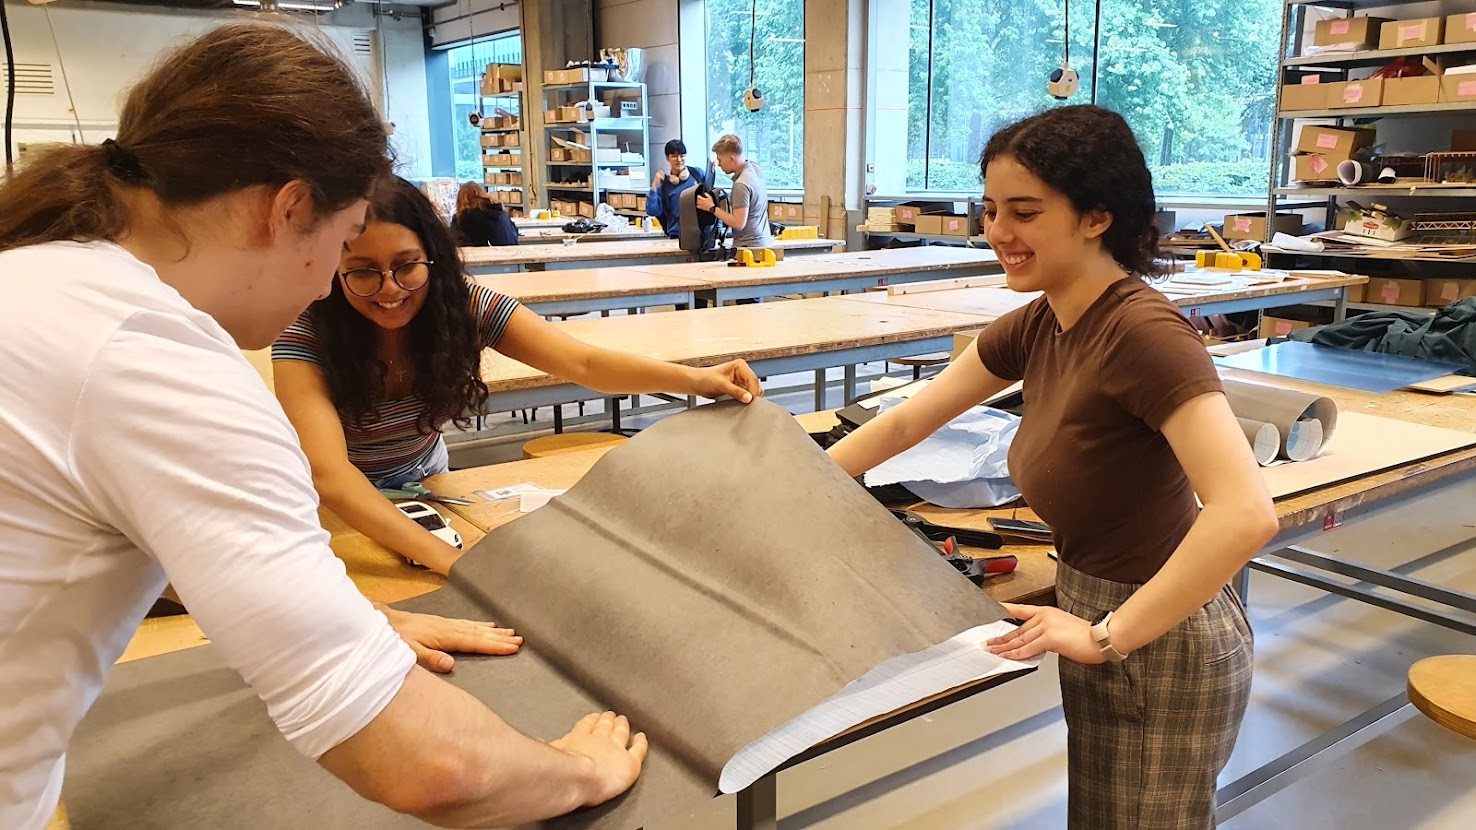
Vinyl wrapping
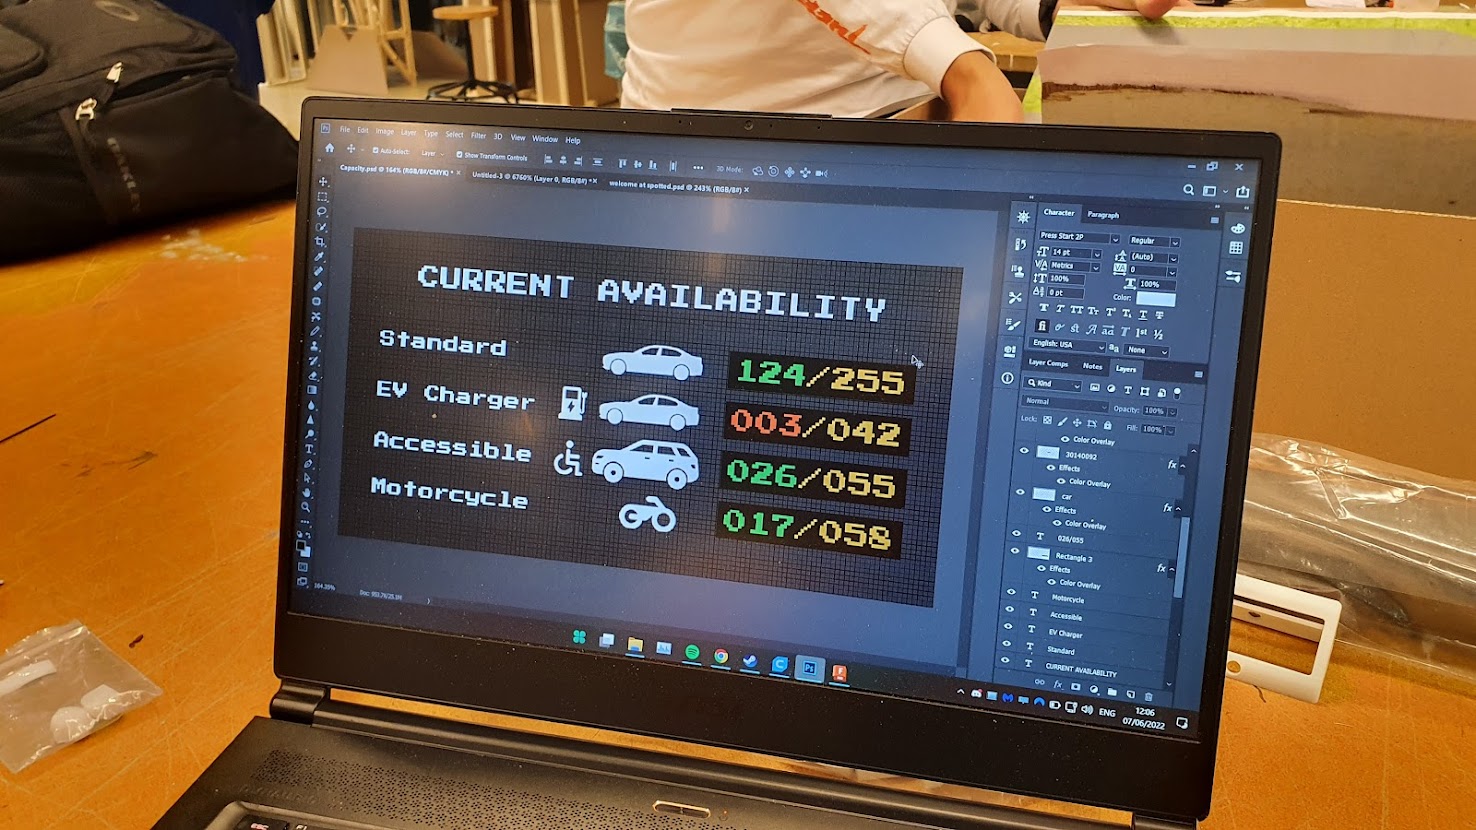
The Information sign designed in Photoshop
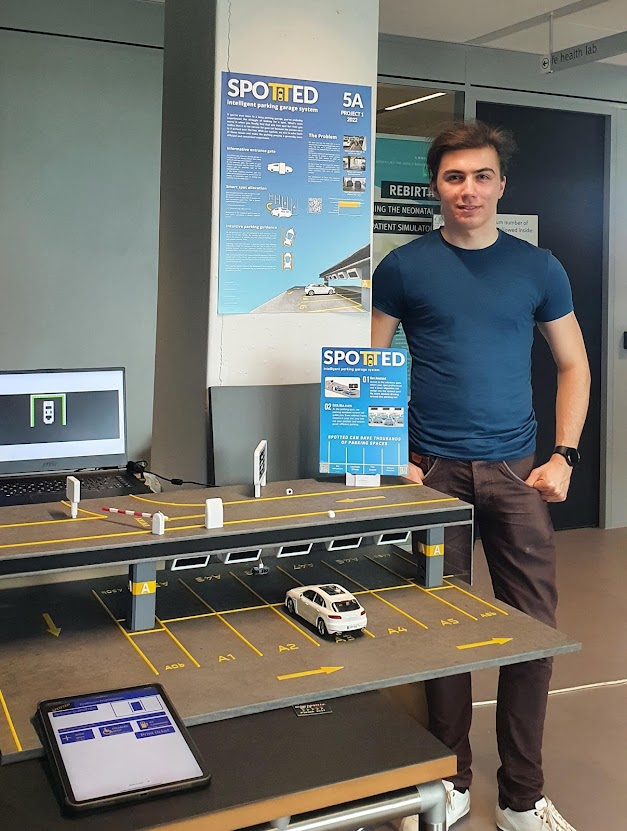
Me posing with the prototype
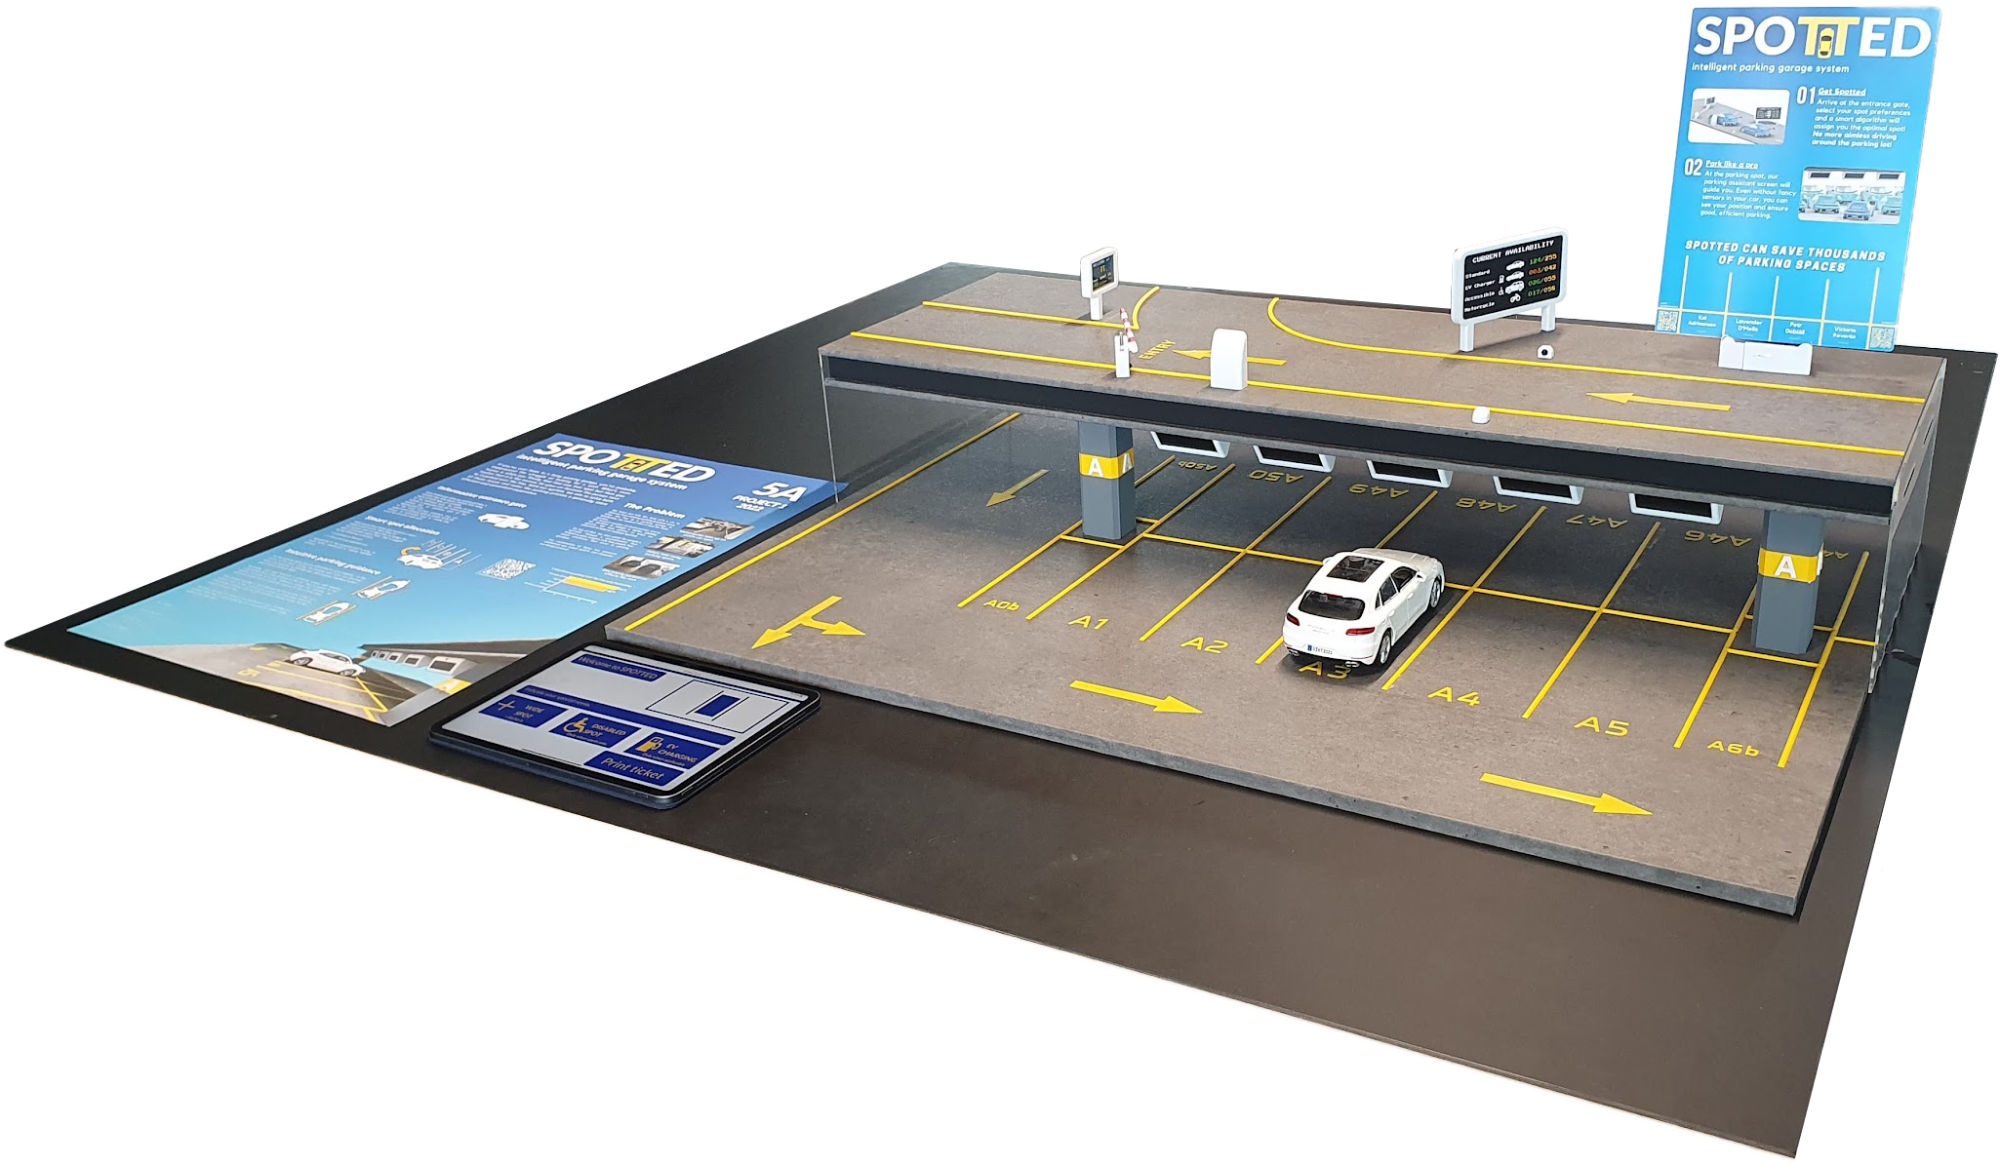
Full view of the final prototype
My learning goals
Throughout year 1 of ID, I set several learning goals for myself that I aimed to complete by the end of the academic year. Three of them I considered achieved, and one I wasn't able to complete.
1. Learning to use Blender to render my 3D models ✓
Goal: My aim was to watch online tutorials to learn how to use Blender to create a realistic final render of the CAD models for Creative Electronics and Project 1. This involves learning how to set up the camera angle, the lighting and know how to texture the material so that it doesn't look 'too perfect'.
Result: I managed to achieve this goal and I am quite happy with the result. An example is the render of the robot from Creative Electronics above.
2. Improving my teamwork & leadership skills ✓
Goal: My aim was to get better at team communication and helping the team to get over indecisiveness during my groupwork in Project 1, Creative Electronics and USE Basics. My approach was to simply learn by experience.
Result: While the goal was not quite set up to be SMART, I feel as though I did improve.
3. Become able to develop a website without a template ✓
Goal: Building a website from scratch takes a lot of effort but did not want to limit myself with a services such as Wix.com. Therefore, I wanted to improve my HTML and especially CSS knowledge, so that I can build a portfolio just as I envision it. I wanted to learn through online resources. As the Project 1 portfolio, was a convenient opportunity to practice this, I set completing it as my goal.
Result: I ended up using software called Bootstrap Studio to make the website. This program makes working with the website elements much easier while also keeping the freedom of being able to edit the code. I consider this goal achieved, even though the portfolio website is quite minimalistic and could use a better way to enlarge images.
4. Learn another CAD software ✗
Goal: I wanted to make the 3D models for Project 1 in a CAD software other than Fusion 360, either SolidWorks or Rhino, and learn the CAD software 'by doing'.
Result: It proved much more difficult to transition to another CAD software and be time efficient in it. Therefore, I couldn't model anything near as good as I could in Fusion 360 in the available time. For this reason, I decided to continue working with the software I knew, sacrificing this goal.